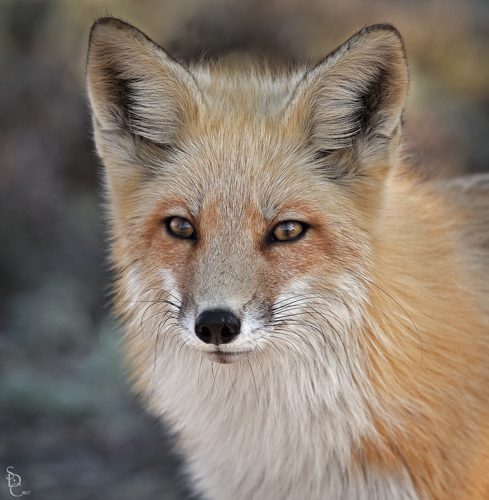
An oldie but simple and effective way to add some pop to images in Photoshop is to use Apply Image in Lab mode. I have used this technique often and find it to work well particularly with the warmer tones in an image.

american red fox
The steps are pretty simple… In photoshop change the color space to Lab Mode by going under the file menu to: Image – Mode and select Lab Mode. I usually duplicate the layer at this point, in case I want to selectively apply the effect to the image. Then you want to select: Image – Apply Image. A dialog box will open and since the default mode is set to the multiply blend mode when you first open it, your image will look underexposed. What you want to do at this point is change the Channel to either the A or B channel and change your Blending mode to either Overlay or Soft Light. You will also want to adjust the opacity to taste. Once you are done experimenting with the various combinations and are satisfied with the results click OK. At this point if I am happy with the results, I simply merge the layers together by using the shortcuts command/control E. If I only want to apply the effect to certain parts of the image, prior to merging the layers together, I will insert a layer mask (it’s the little square with a circle in it found in the bottom of the layers pallet) and by using a soft brush I will paint the effect in or out by using either of the defaults colors which are white or black. White reveals and black conceals the effect. Finally you want to return to the RGB color space by going to: Image – Mode – RGB.


